Application Instances
Last Modified: 02/28/2022
The App Instances page is where you provision your application and deploy it to a cloudlet. This step is called application provisioning. This page displays information such as the current applications running on the platform and their location. EdgeXR allows you to deploy your applications to multiple cloudlets within the same region.
You also have the option to create an auto-provision policy, where based on the information you provide, EdgeXR can automatically deploy your app instance for you and locate the most optimal cloudlet(s). Once you create your auto-provision policy, you must specify the policy during the application definition process within the Apps page. For steps on how to set up your auto-provision policy, see the section To create an auto-provision policy.
The following actions may be performed on this page using the top taskbar:
To filter by group, simply select an option from the Group By dropdown menu
Filter your applications by region
Toggle Map on or off. The map will show the geographic location of app instances, and whether they are active (indicated by a green cloud icon), or offline (indicated by a red cloud icon)
Manually search for an app instance
Create a new app instance
Refresh your list of app instances

The icons listed along your app instances table will allow you to perform several other actions.
Select the app instance list to display details
View the Health Status of an App Instance
Access the quick access menu under Actions to either Refresh or Delete the application, or access Terminal

Understanding EdgeXR Reservable Cluster Instances
EdgeXR will pre-allocate a set of cluster instances on each cloudlet for app instances that use auto-provisioning. With this feature, apps are automatically matched up with the appropriate reservable cluster instance resource requirements. When creating an app instance, and the cluster name is prefixed with "AutoCluster", the system will dynamically create and select a free reservable cluster instance for you to use. Once the app instance is removed or deleted from the reservable autocluster, other app instances are free to use it.
Provision Your Application
When creating your application instance, a list of supported compute resources(flavors) will only appear for the cloudlet you specified in your configuration. Retrospectively, if you initially select a flavor in the dropdown list, only cloudlets that support the selected flavor will appear in the list.
Ensure you specify the organization that you wish to manage. This ensures that the application you want to provision is within the organization you want to manage.
The next step is creating an app instance. There are two ways to do this:
Creating a new app instance using the App Instances page
Selecting an existing app from the Apps page
Select App Instances from the left navigation. Then, on the App Instances page, select the plus sign icon to launch the Create App Instance page. Alternatively, select Apps from the left navigation. Find the existing app you want to create an App Instance for, and select the Actions icon for that app. Then, in the dropdown menu that appears, select Create App Instance.
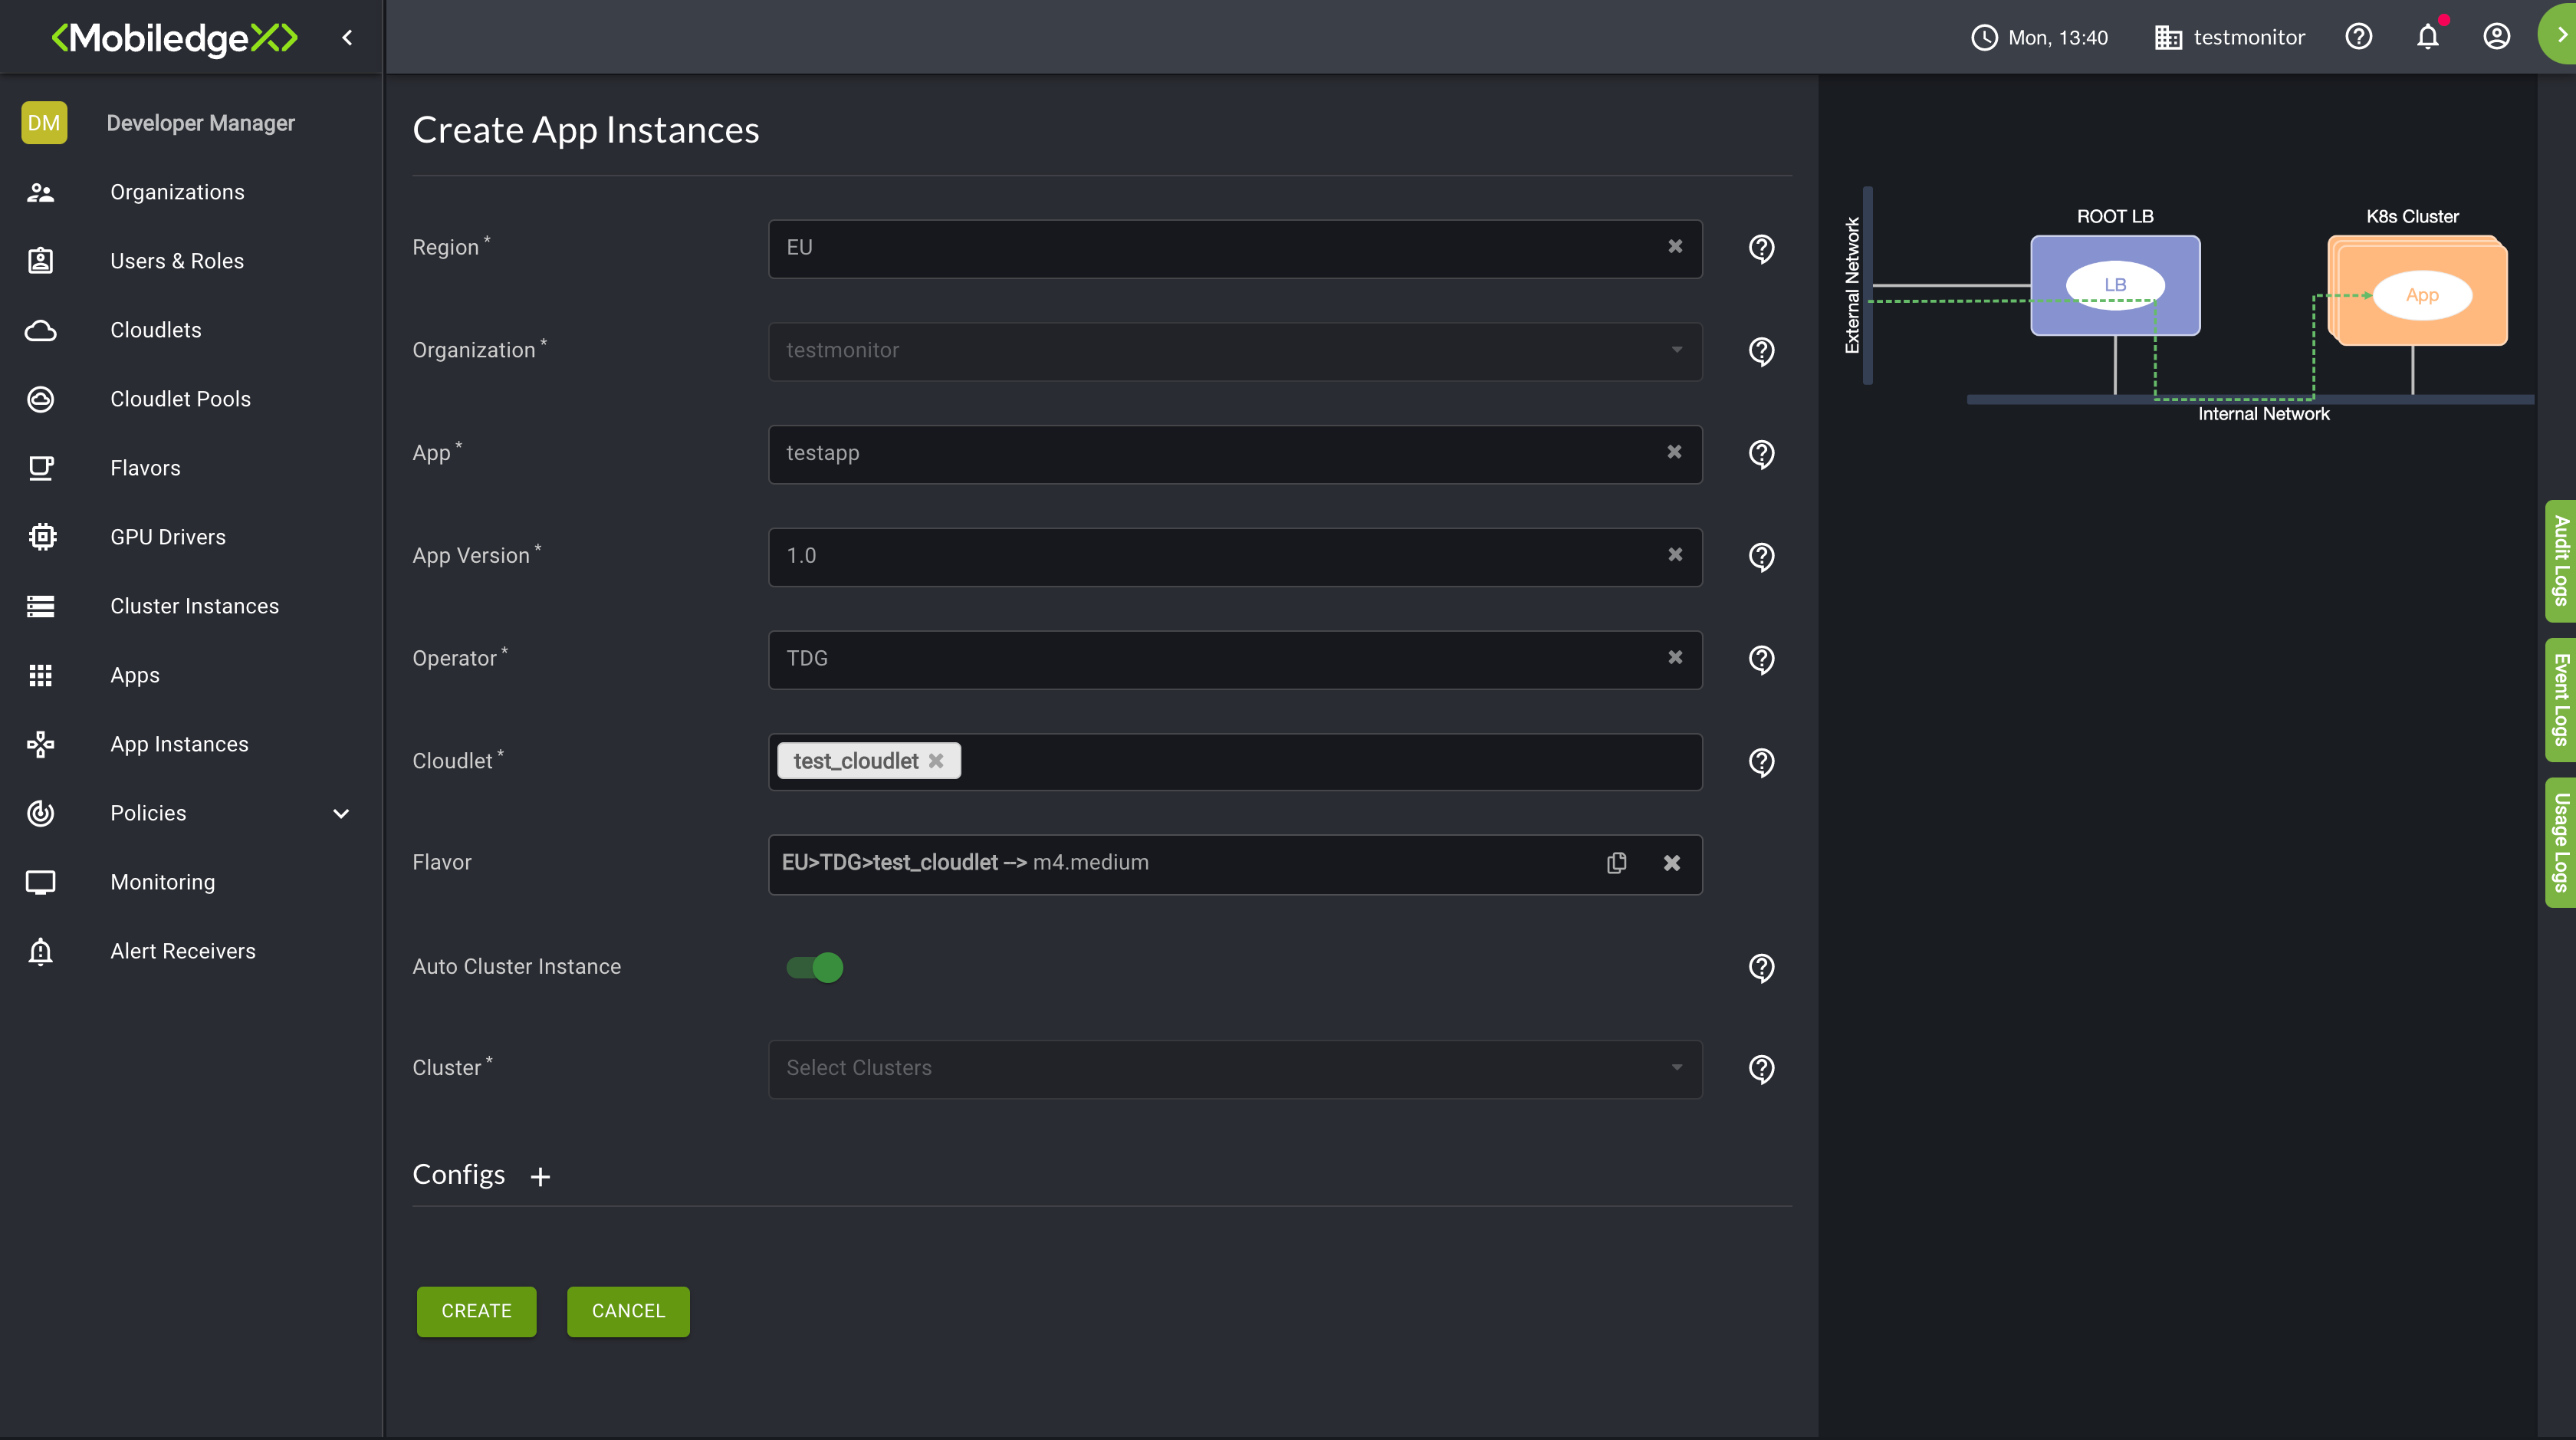
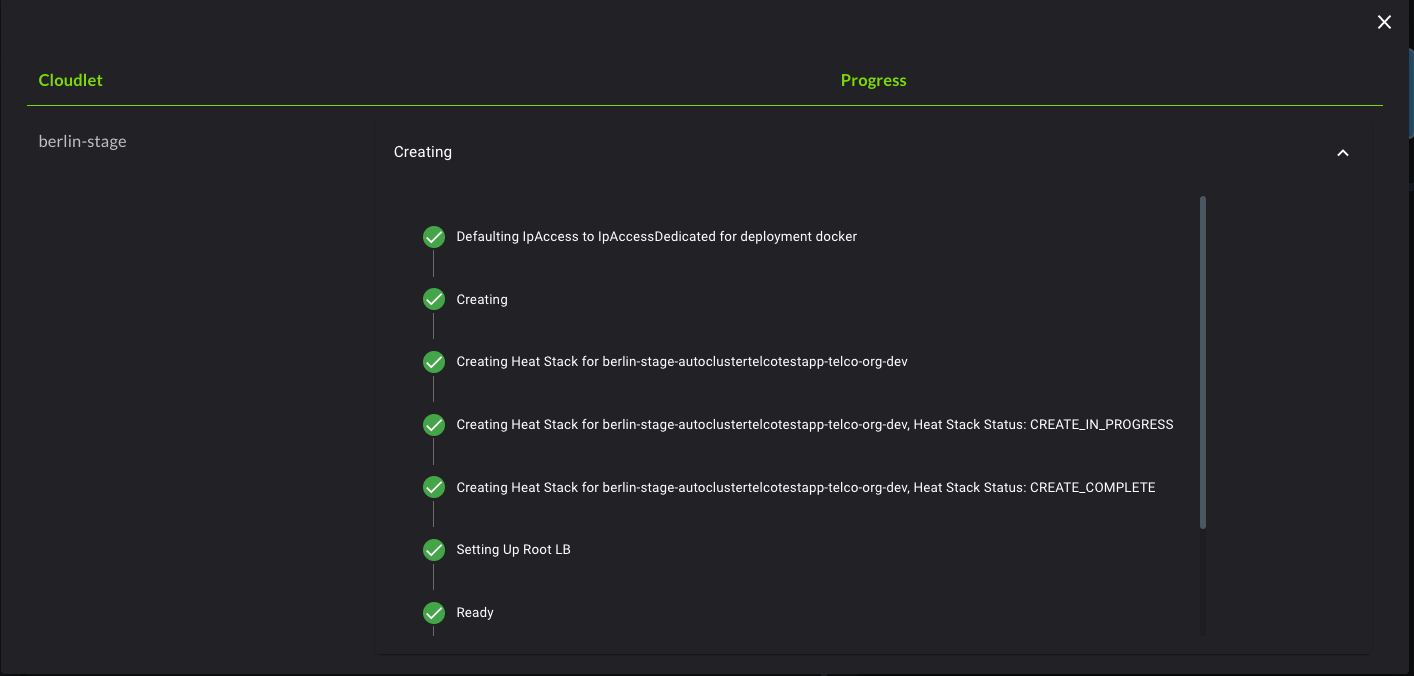
Once you populate all the required fields, select Create. It can take up to a few minutes to deploy your application to one of our cloudlets. The Progress bar displays the current status of the deployment.
Once deployed, information about the application appears on the App Instances page.

Using Terminal
EdgeXR provides terminal access to app instances for VMs, K8s, and docker deployments for the purpose of debugging, testing, and monitoring the overall health of your deployments. Additionally, you can view log files and submit commands to your container. The Actions menu on the App Instances page displays options specific to the deployment type of your app instance.
Deployment Types | Actions menu options |
Helm | Update, Refresh, Delete |
VM | Refresh, Delete, Terminal, Power off, Reboot |
K8s and Docker | Update, Refresh, Delete, Terminal |
K8s and Docker deployment types
For app instance K8s and docker deployment types, Terminal will provide access to the Run Command and Showlog.
On the Application Instance page, navigate to the container you wish to interact with.
From the Actions menu, select Terminal.
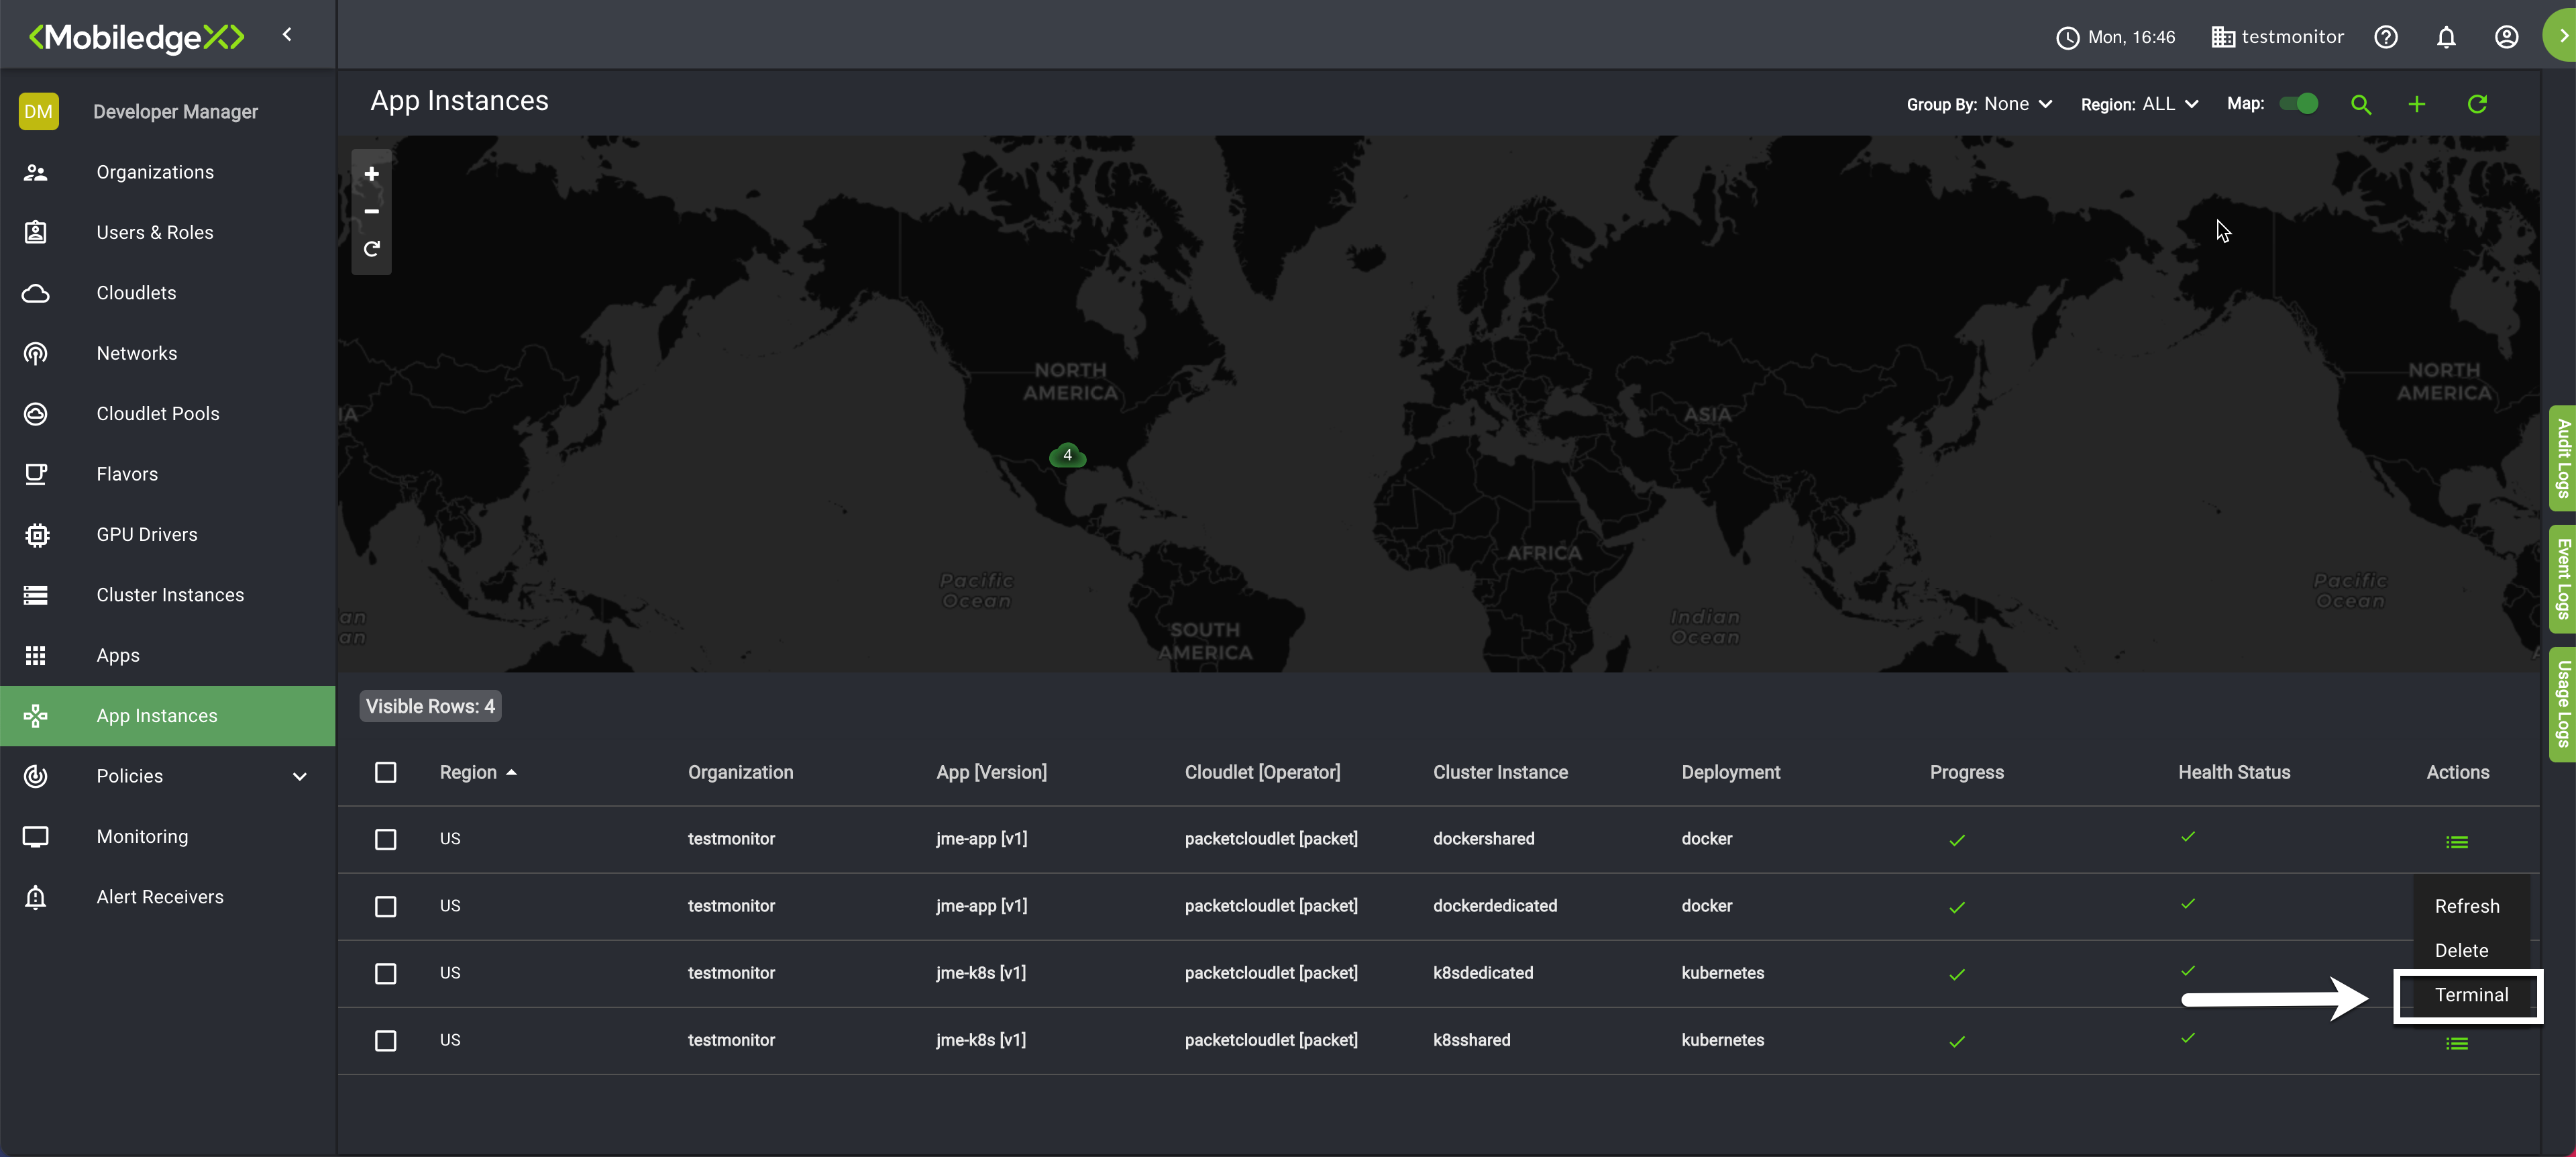
To run a command, make sure the Request dropdown displays Run Command.
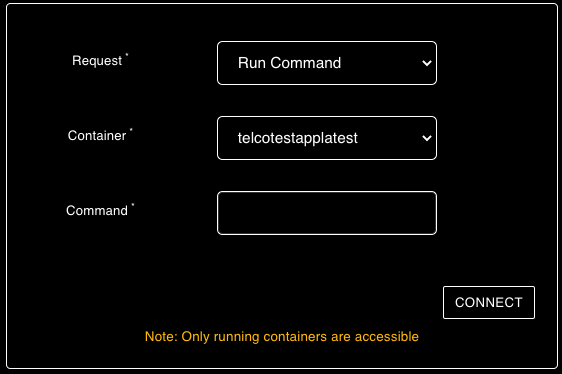
Type in a command in the Command field, and select Connect. You can start an interactive session if you wish, which is equivalent to the
docker -itcommand.To view log files, make sure the Request dropdown displays Show Logs.
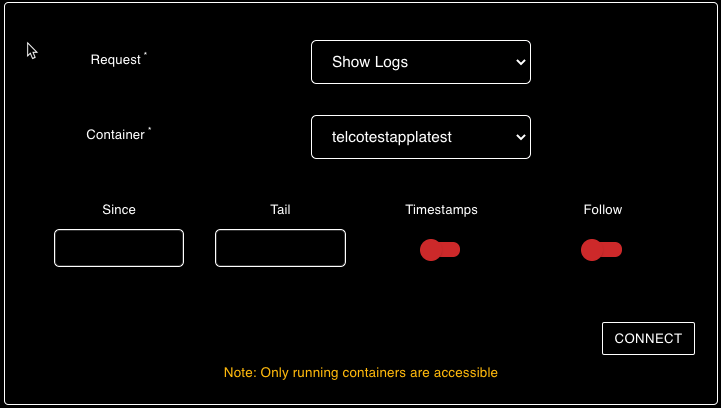
Select any modifiers, for example, you can add timestamps, follow the log, which is equivalent to the
docker logs- fcommand, or select a time window from which to view logs.Select Close in the upper right-hand corner when done.
Note: If your workload consists of multiple containers, specify the container you wish to operate on from the Container field.
Note: You can only operate on running containers. Only running containers are displayed in the Container dropdown. If you wish to operate on a stopped container, you must restart it.
VM deployment type
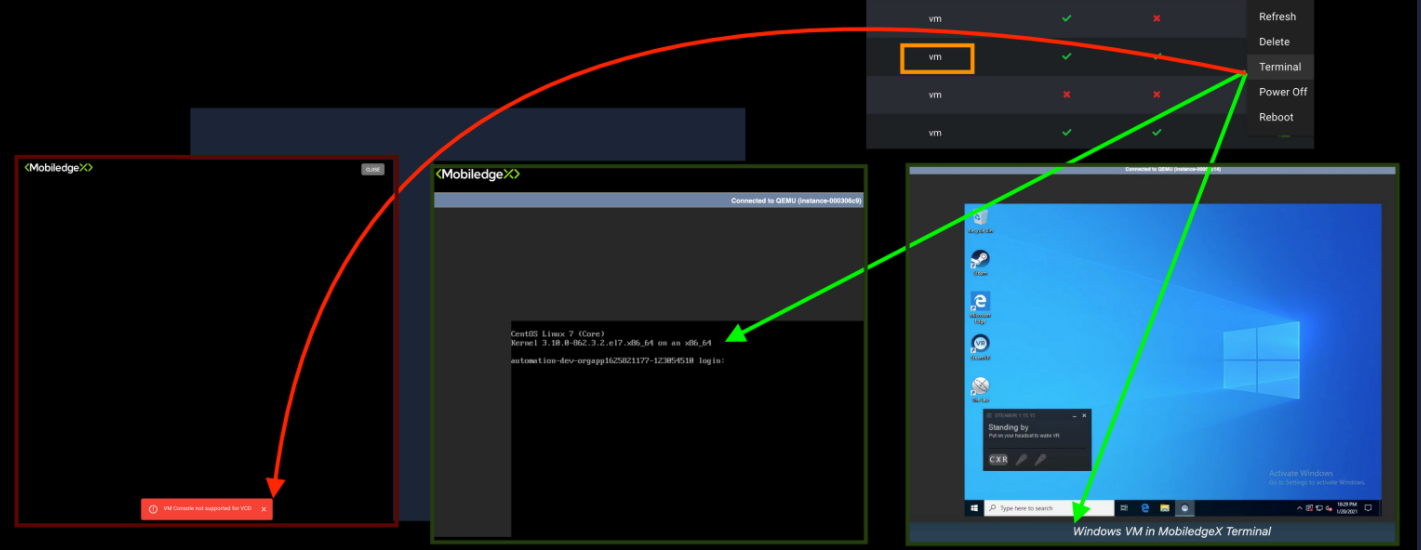
For app instance VM deployment types, Terminal will attempt to make a console connection to the VM. However, for Windows VM or Linux VM, Terminal may not be supported for cases where some cloudlets platforms are VCD instead of OpenStack.
