Supported Application Types
Last Modified: 11/15/2021
EdgeXR provides support for several different application file types and deployment options. The table below lists these deployment options and their associated file types. Details about how to manage each deployment types are covered in their respective sections below.
Supported Application Types | File Types |
|---|---|
Virtual Machines (VM) | QCOW2 image format |
Docker (v19.03.3) | Docker Compose (v3.8), Docker image |
Kubernetes | k8s yaml with manifest, Docker image |
Helm (v3) | Single Helm Chart |
*For Helm, apiVersion v1 is currently only supported for helm charts.
Virtual Machines
For Virtual Machine (VM) deployment, use a VM image as a QCOW2 format. With the image, you can upload it to our EdgeXR Artifactory. Upon uploading the image, you will be prompted for your username and password to proceed with the upload. The command to upload the image is:
$ curl -u<username> -T <pathtofile> "https://console.cloud.edgexr.org/storage/v1/artifacts/cloudxr/<targetfilepath>" --progress-bar -o <upload status filename> Refer to the Deploying Virtual Machines tutorials to learn how to deploy a VM.
Docker
For applications deployed as Docker containers, EdgeXR supports deployments as singular Docker images as well as Docker Compose files in the following ways:
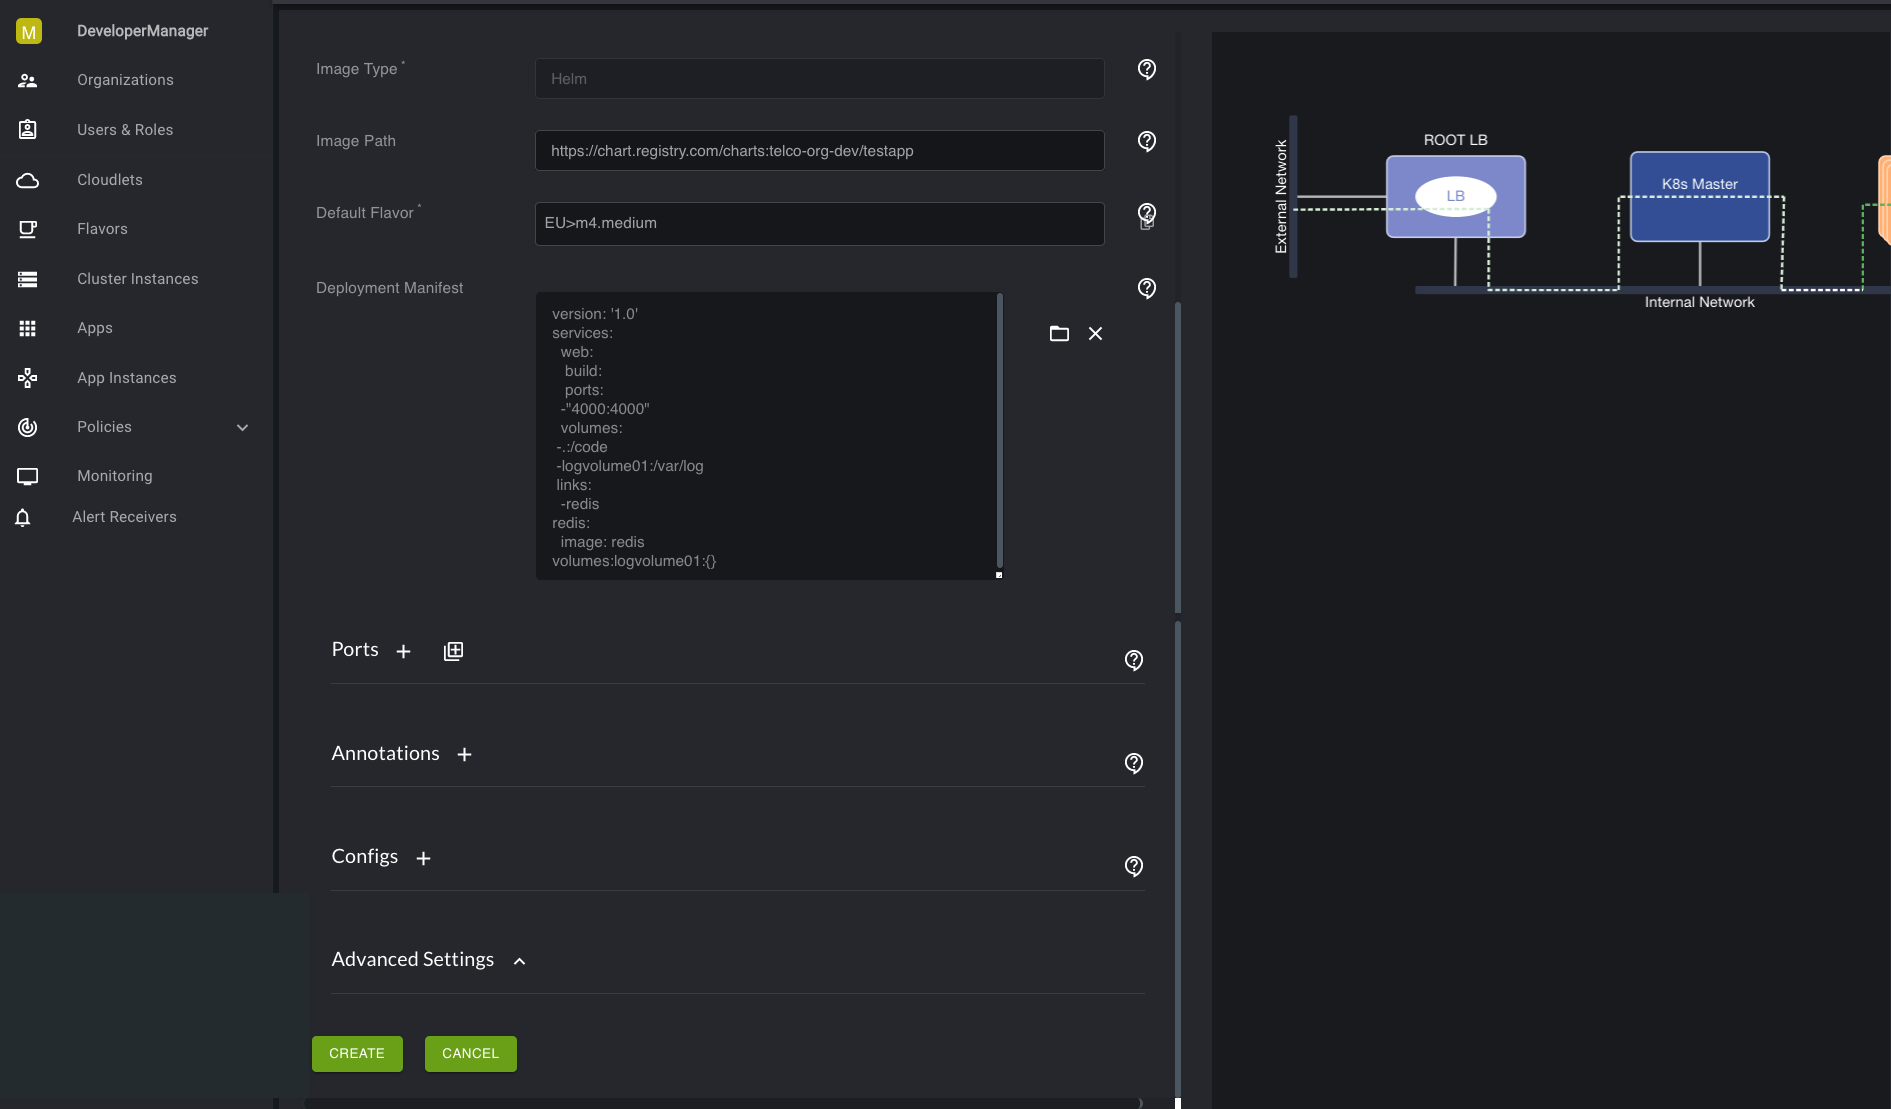
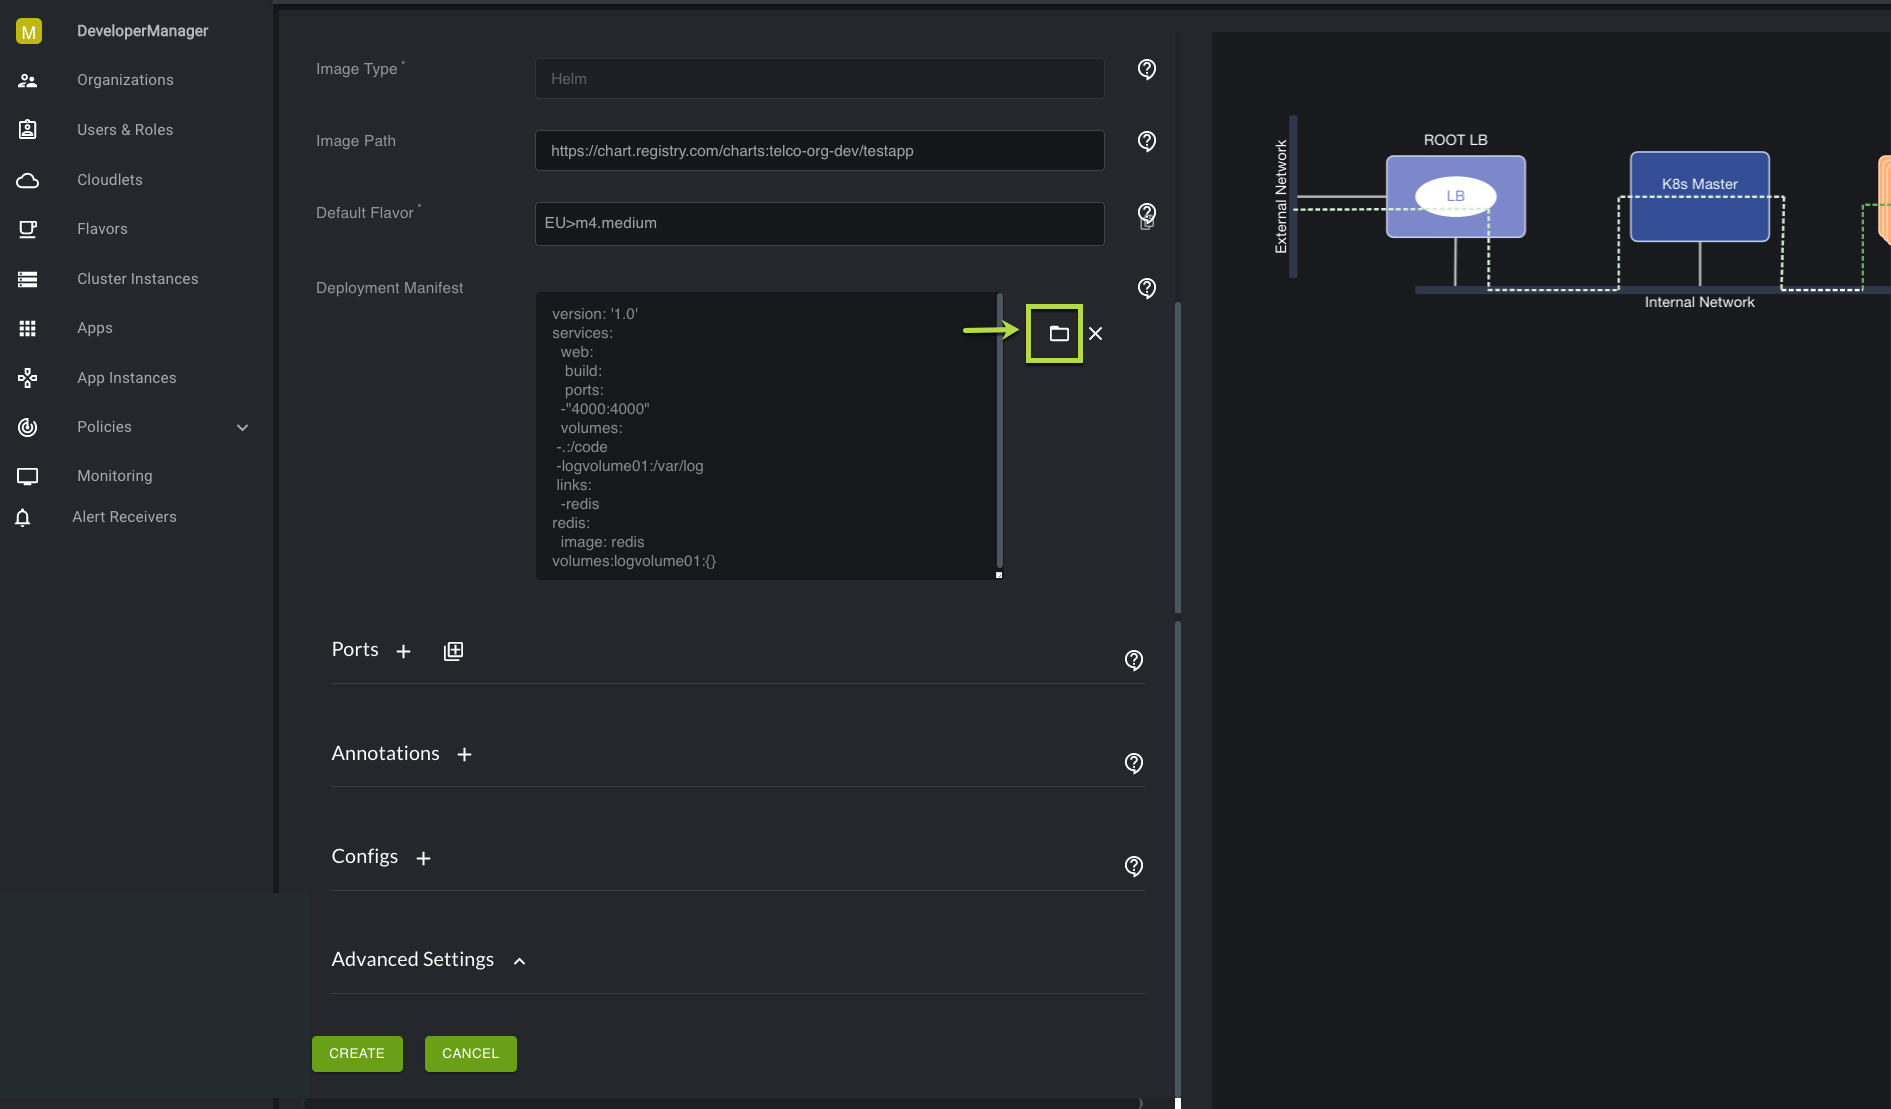
A Deployment Manifest argument for Docker Compose files used as input. You can either paste or manually type in your plain text file into the Deployment Manifest box or select the Docker Compose file located on your local server where it is loaded into the Manifest box.
Docker Compose files referenced as a ZIP file. The ZIP file must be referenced from a web server (and not referenced locally), or retrieved from Artifactory.
Docker images may be used either from the an unauthenticated source such as Docker Hub or by uploading them to the EdgeXR Artifactory repository (learn how to do this at the end of the guide). All Docker images uploaded to EdgeXR will be run through a security scan. Docker images from unauthenticated sources will not be scanned.
Docker Compose files can include multiple images and options, as well as additional files. Make sure that if you are using a ZIP file as input, your ZIP file is not encrypted, and the URL should be accessible without requiring authentication.
ZIP files need to contain a manifest.yaml file, and should also include other contents, such as the example provided below. Based on the content of the manifest.yaml file, the system will read and execute the Docker Compose files within the YAML file, so it's important to remember that each file specified in the manifest.yaml file is present.
Manifest Example:
  $ cat manifest.yaml
  dockercomposefiles:
  - docker-compose.yaml
  - docker-compose2.yaml
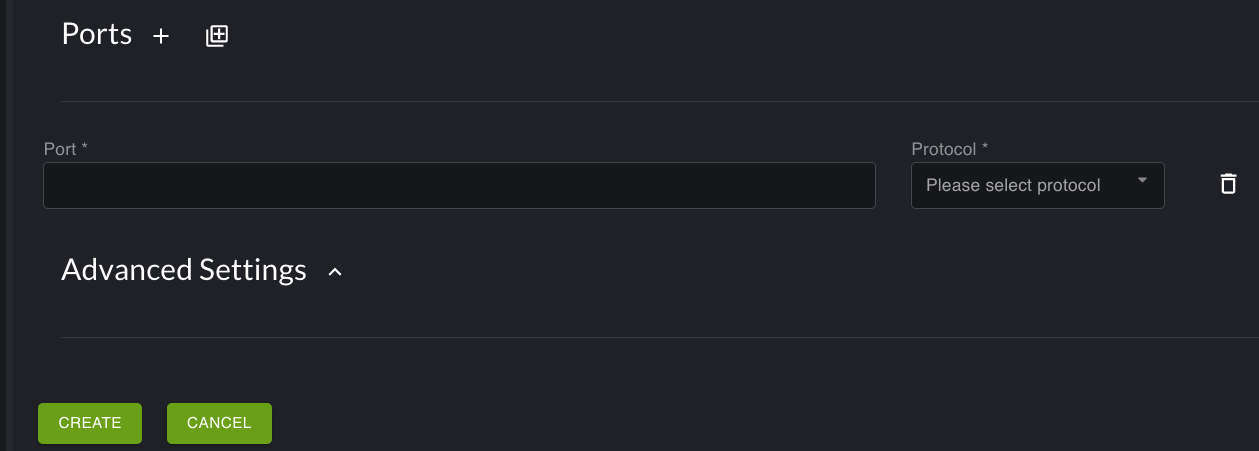
Although you may have specified the ports in your manifest, doing so does not open the ports automatically. You must also set (open) the ports via the Edge-Cloud Console from the Create Apps page.

Option 1: Docker Compose file as input
If you want to use the Docker Compose file as input, simply input the plain text manually into the Deployment Manifest text box from the Create Apps page. The other option is to use the file selection option and reference your file from your local server, where your text file is loaded into the Deployment Manifest text box.

Option 2: Docker Compose as a ZIP or non-ZIP file from a file system or HTTP Server
To reference your Docker Compose ZIP file, make sure you are referencing it as a URL from an HTTP server. The server should be accessible without requiring authentication. For non-ZIP files, you can use the file selection option and reference your non-ZIP file from your local server, where it will load the content into the Deployment Manifest text box.

Option 3: Docker Compose as a ZIP file on Artifactory
If you wish to reference your Docker Compose ZIP file from Artifactory, you can do so the same way you reference the ZIP file from an HTTP server. Instead of navigating to an HTTP server, you're navigating to the ZIP file that you uploaded to EdgeXR Artifactory. The format of the path is similar to the path that you provided when you first create your organization and pushed an image to our repository, like this: https://console.cloud.edgexr.org/storage/v1/artifacts/mobilegeX/post_redis_compose.ZIP.
For Options 2 and 3 where you want to perform a ZIP deployment, provide the URL in the Deployment Manifest text box and ensure the image path is blank. For an example on how to deploy a ZIP file, refer to the How to create a docker-compose deployment using multiple files tutorial.
Kubernetes
You can reference a k8s.yaml file to deploy your application if you are using Kubernetes. You can optionally type in the content of your k8s.yaml file directly in the Deployment Manifest, specify the URL to the path of your k8s.yaml file, or simply locate your k8s file locally using the file selection option from the Deployment Manifest area. The content will load into the Deployment Manifest text box.
If you choose to use a Docker image to deploy a Kubernetes Manifest, you can:
Specify the image path without an input argument to the Deployment Manifest. A Manifest will be generated for you.
Manually provide a Deployment Manifest argument which includes the image path referenced within the Manifest itself.
Note: You cannot use a ZIP file with Kubernetes to deploy your application.

It's important to remember to specify the Service section within the k8s.yaml file. Otherwise, your deployment will not succeed. The following is an example of a deployment manifest.
  apiVersion: v1
  kind: Service
  metadata:
    name: nginx-service
    labels:
      run: nginx
  spec:
    type: LoadBalancer
    ports:
    - port: 80
      targetPort: 80
      protocol: TCP
      name: tcp80
    selector:
      run: nginx
  ---
  apiVersion: apps/v1 # for versions before 1.9.0 use apps/v1beta2
  kind: Deployment
  metadata:
    name: nginx-deployment
  spec:
    selector:
      matchLabels:
        app: nginx
    replicas: 1 # tells deployment to run 1 pods matching the template
    template:
      metadata:
        labels:
          app: nginx
      spec:
        containers:
        - name: nginx
          image: nginx:1.14.2
          ports:
          - containerPort: 80
            protocol: TCP
Helm
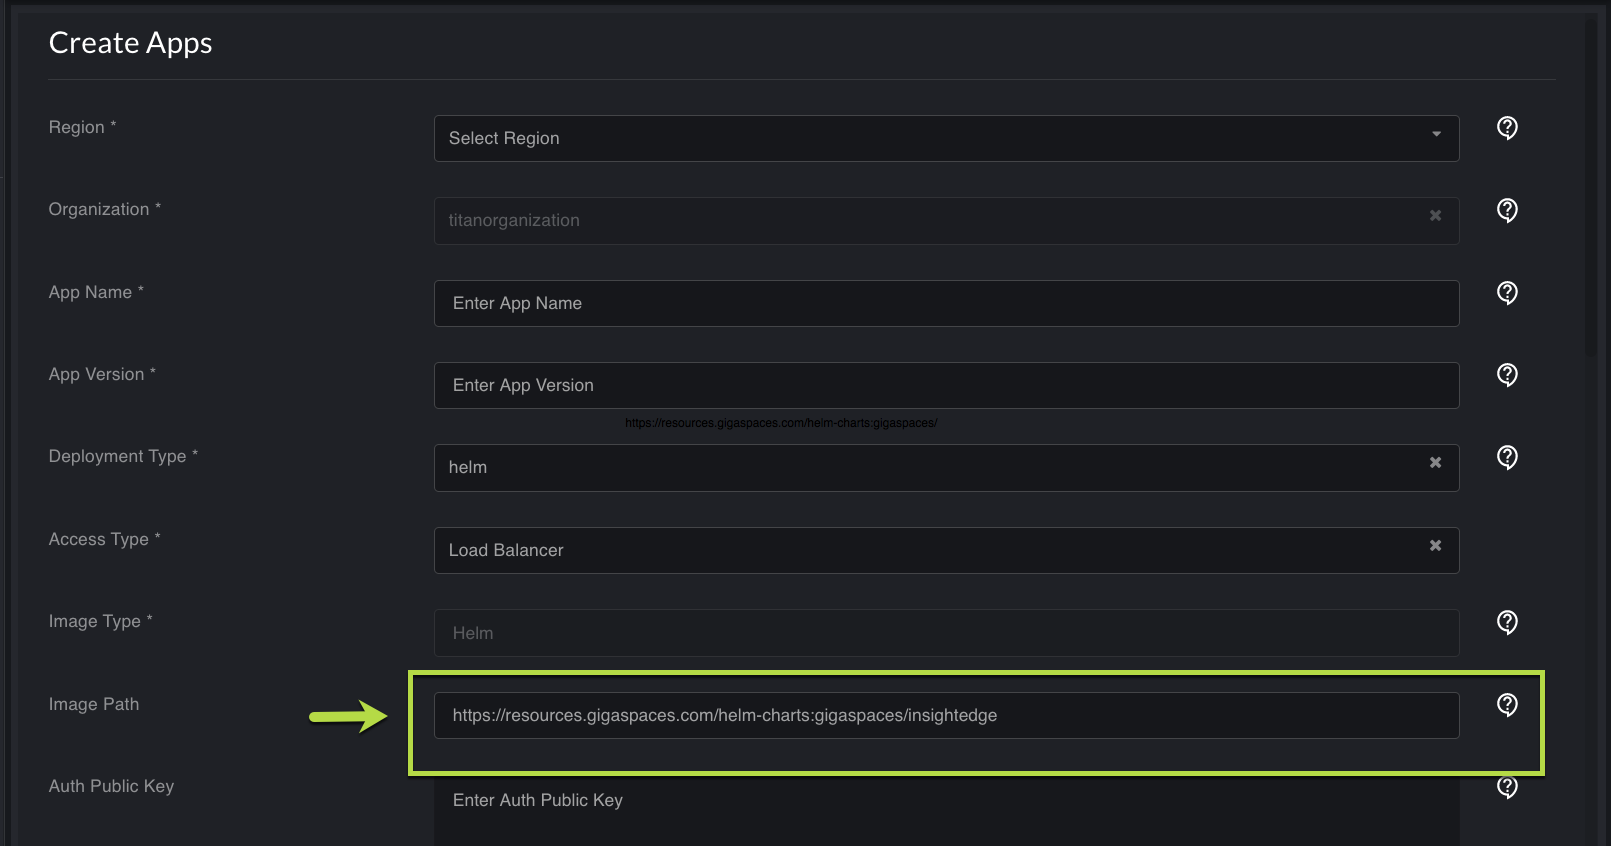
You can use a helm chart, which is a collection of files related to your Kubernetes resources, to deploy your application. If you wish to use a single helm chart for your application deployment, specify the URL path, for example, https://resources.gigaspaces.com/helm-charts:gigaspaces/insightedge to the helm chart as input into the Image Path field under Create Apps. You are not required to provide any input into the Deployment Manifest section.

When you specify the helm chart as input in the image path, you have the option to add an Annotation. Annotations are conditions or tags added as dependencies. This area is a free form region where you can specify conditions or tags specific to your helm chart. For example, in the Key field, you can type in version and in the Value field, type in the version of your helm chart, such as 1.0.

If you require additional configurations for your application, such as adding environmental variables or including customization files for helm deployments, you can specify these types of configurations by specifying the content of the configuration file in the Config field, and selecting either Environmental Variables or Helm Customization.
Refer to our tutorial Deploy a Helm V3 Application for detailed steps on how to deploy a Helm application.

Upload images to EdgeXR registries
The following lists all commands used to upload your images to our registries. Remember to replace the sample organization name with your own organization name.
If you are uploading an image to our Docker registry, use these commands:
  $ docker login -u <username> docker.cloud.edgexr.org
  $ docker tag <your application> docker.cloud.edgexr.org/testdorganization/images/<application name>:<version>
  $ docker push docker.cloud.edgexr.org/testdorganization/images/<application name>:<version>
  $ docker logout docker.cloud.edgexr.org
If you are uploading a file image to our VM registry, use the following curl command:
$ curl -u<username> -T <pathtofile> "https://console.cloud.edgexr.org/storage/v1/artifacts/testdorganization/<targetfilepath>" --progress-bar -o <upload status filename>If you wish to manage files within Artifactory, you may login to https://console.cloud.edgexr.org/storage/v1/artifacts using the username and password for your EdgeXR account.