Cluster Instances
Last Modified: 11/15/2021
A cluster instance represents a collection of compute resources on a cloudlet for deploying your application instance, or containers. Creating a cluster instance is an optional step; you can create it manually or automatically during the create application instance step by selecting the Auto Cluster instance box. You also have the option to make your cluster private by adding a Trust Policy to your cluster instance, although this is only supported for Dedicated IP Access. For more information about Trust Policy, see the section on Policies.
The following actions may be performed on this page:
Filter the available Cluster Instances by specific regions
To filter by group, simply drag and drop the Region, Organization, Operator, Cloudlet, or Flavor header into the Drag header here to group by option
Use the Search bar to search for specific Cluster Instance. Type in a few letters to auto-populate your search results
Dedicated vs. Shared Access Type
When creating a cluster instance, you can determine how traffic is routed to your cluster instance.
Dedicated: Select this option if you want to have a dedicated load balancer for your app instance. A Dedicated cluster instance ensures an exclusive port is opened with an assigned IP address. Otherwise, the port used may get mapped to a different port if the requested port is being used by other applications.
Shared: Select this option to route all traffic through a load balancer, where it will then get re-routed to the cluster instance. A Shared cluster instance's IP Access is shared with all associated application instances. We recommend that you select the Shared option if your application does not require a specific or exclusive port.
Shared Volume support
EdgeXR utilizes Shared Persistent Volumes for Kubernetes deployments. Shared Persistent Volumes manage the storage of data within the cluster(s). If a container crashes and the kubelet restarts, subsequently, data within the cluster may be lost (the container becomes empty as a result of the reboot).
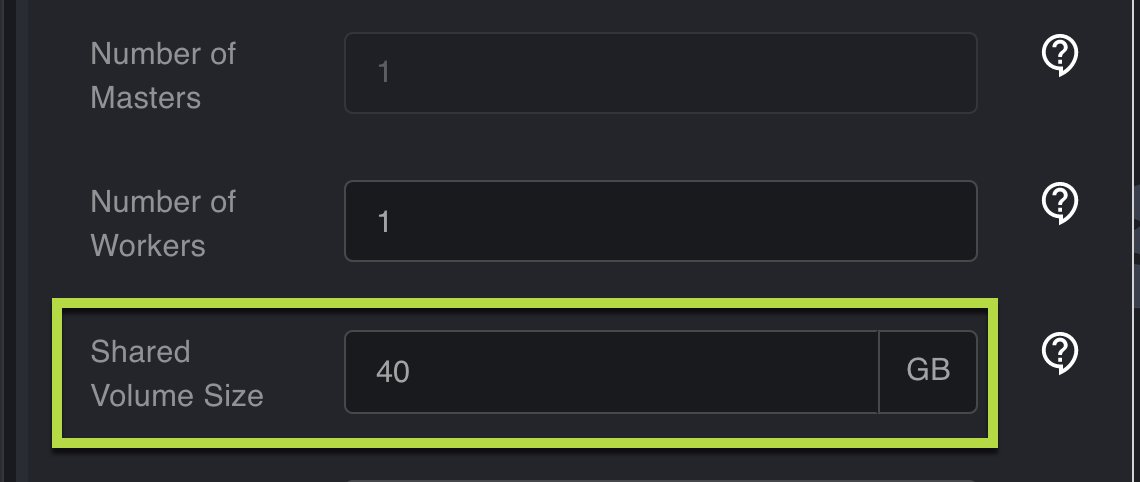
EdgeXR’s support of Shared Persistent Volumes preserves your data by allowing you to share your Volumes across all nodes within the Kubernetes cluster. The data is transmitted via NFS over a private network. To take advantage of this feature, you must designate the amount of Gigabytes to be used by the Shared Volume field within the UI.
Note: Gigabytes utilized by the Shared Volume may not exceed 200 Gb.
It is essential to understand the various parts of the Shared Volumes and their dependencies on the supporting directories, which include Volumes, Persistent Volumes, and PersistentVolumeClaims.
Volumes: Directories containing data and is accessible to the containers within a Pod. While Kubernetes supports many different Volumes types, EdgeXR supports PersistentVolumeClaims, and thus, making the Volume available to all the nodes within the cluster.
Persistent Volumes (PVs): Resources within the cluster. Persistent Volumes requires provisioning using a default storage class. You can view a PV as a resource in the cluster in the same way you may view a node as a cluster resource.
PersistentVolumeClaims (PVCs): Consumes the PV resources, and mounts the PV to the Pod. While Pods requests such things as CPU and memory, PVC requests specific size and access modes.
Accordingly, PVs are resources within a cluster, and PVC is the request for those resources contained in the cluster. Users may consume those stored resources across their nodes.
Some things to keep in mind about using Shared Volumes:
The
storageClassNamewithin the PCV definition must either be set to standard or omitted.You may create more than one PVC using Shared Volume.
The total size of the Shared Volume must not be exceeded by the PVC(s).
To set up Shared Volume support:
Navigate to the Create Cluster Instances page.
For Deployment type, select kubernetes. The Shared Volume size field appears.
Specify the Shared Volume Size in GB. The minimum value is 1GB, and the maximum value is 200GB.

Click Create. Your Shared Volume is created. Once the cluster starts, a PV auto-provisioner is automatically created with a default storage class. If the Kubernetes manifest for the app specifies a PVC, a PV is created and then binds to the PVC.
You can optionally set the Number of Masters and Number of Workers for your Kubernetes cluster. Each cluster has one master node and can have multiple numbers of worker nodes. Each worker node is a VM, so the more nodes you specify, the more applications you can run.
Kubernetes manifest example
Example PVC
apiVersion: v1
kind: PersistentVolumeClaim
apiVersion: v1
metadata:
  name: demo-pv-claim
spec:
  storageClassName: standard
  accessModes:
    - ReadWriteOnce
  resources:
    requests:
      storage: 10Gi
Example Deployment using PVC
apiVersion: apps/v1
kind: Deployment
...
spec:
  ...
  template:
    ...
    spec:
      containers:
      - name: myapp
        ...
        volumeMounts:
        - mountPath: /data
          name: demo-pv-storage
      volumes:
       - name: demo-pv-storage
         persistentVolumeClaim:
           claimName: demo-pv-claim
Note: When typing in a cluster name, do not use underscores or periods. Doing so will not display metrics information for clusters or app instances when you attempt to view them from the Monitoring page.
Create a cluster instance
When creating a cluster instance, a list of supported compute resources(flavors) will only appear for the cloudlet you specified in your configuration. Retrospectively, if you initially select a flavor in the drop down list, only cloudlets that support the selected flavor will appear in the list.
Navigate to the Cluster Instances submenu.
Click the + plus sign on the right upper-hand corner to create a cluster instance. The Create Cluster Instances page opens.

Note: Additional fields may appear depending on your selection(s).
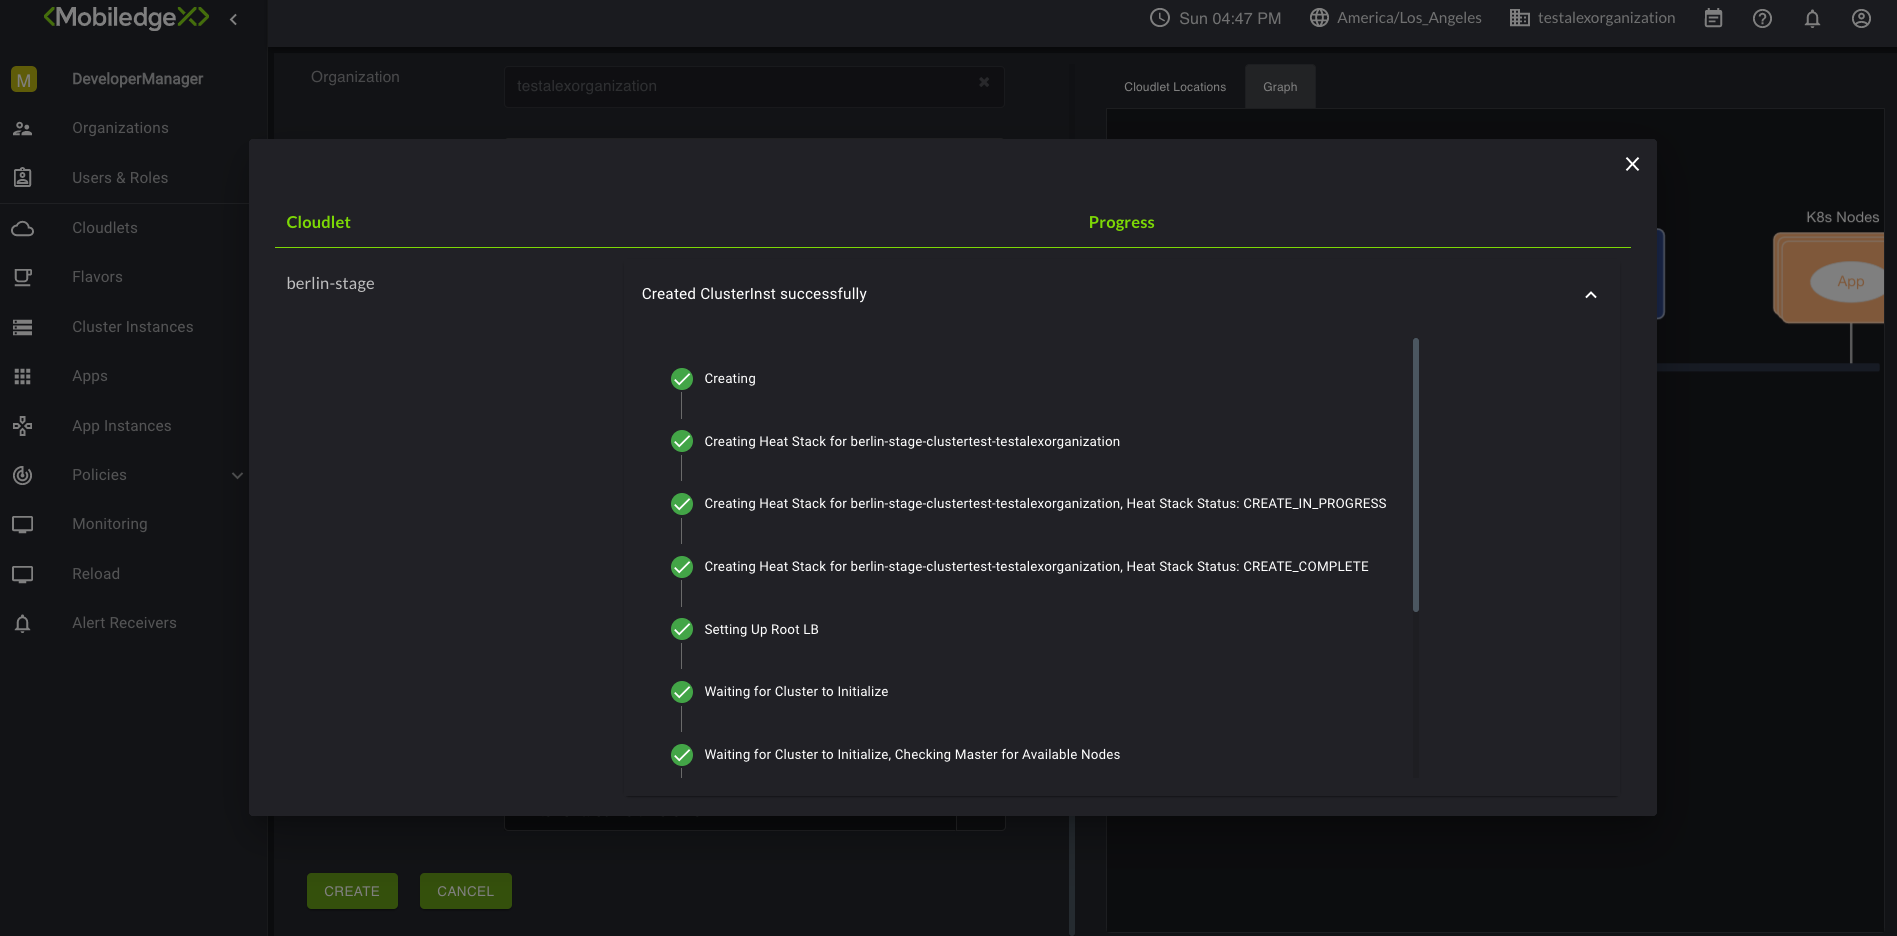
Populate all required fields, and click Create. A view of the progress is displayed and may take up to a few minutes for the action to complete.

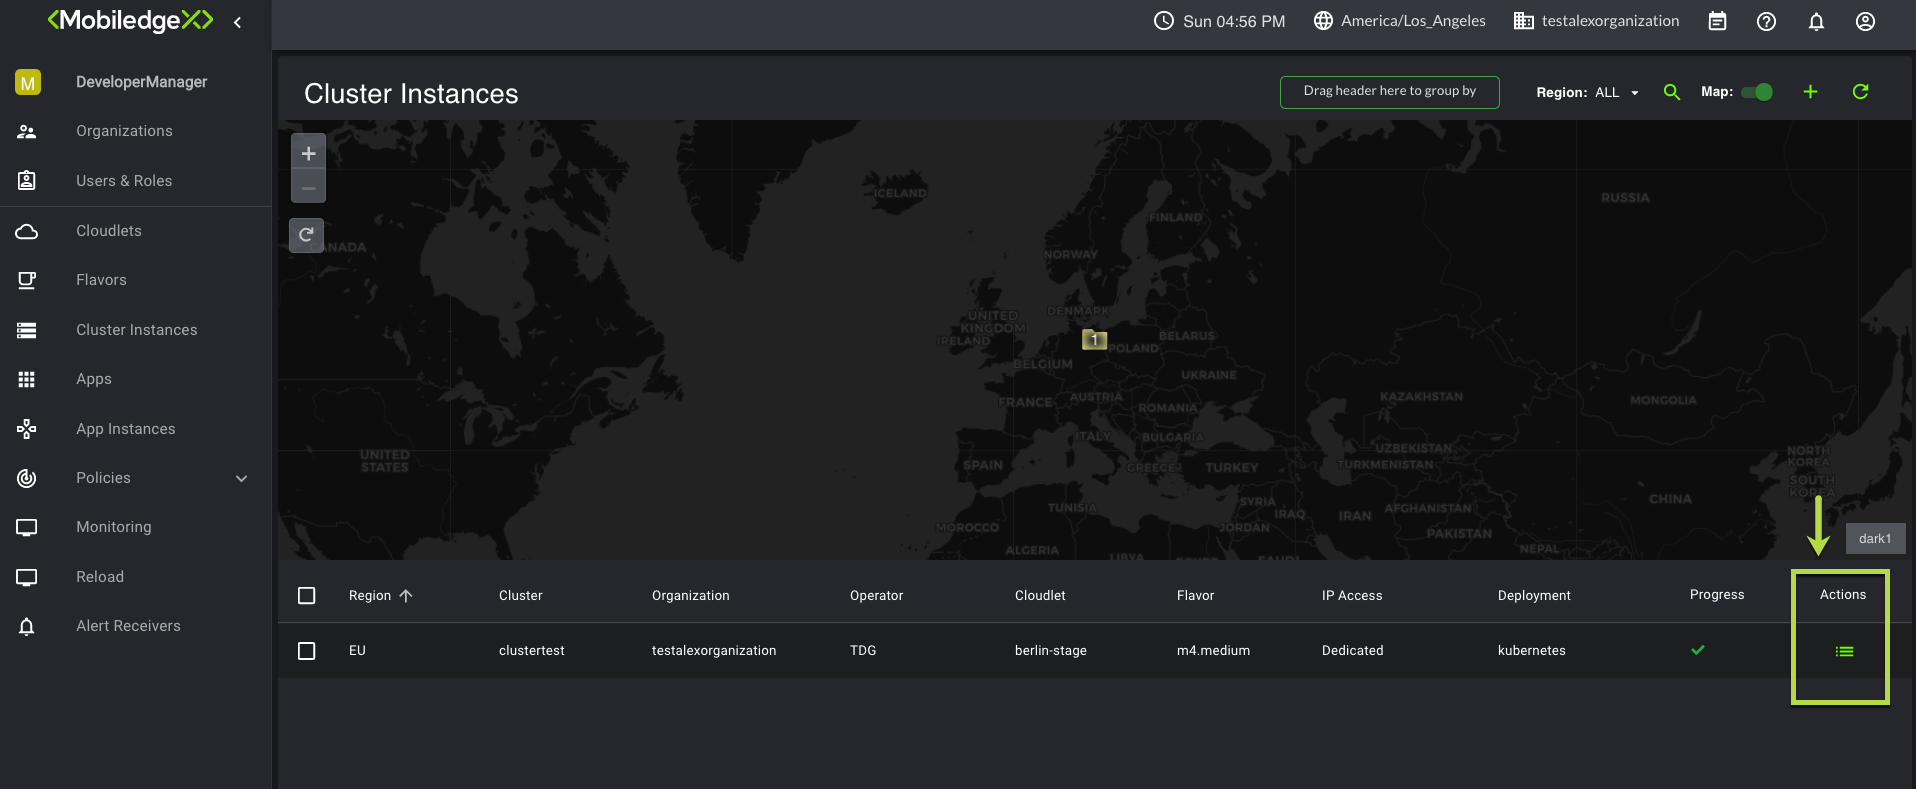
To view your newly added cluster instance, navigate back to the Cluster Instances submenu. You may also delete the cluster instance by clicking on the Action menu icon.
